Creeping Bellflower Harvest May 2022

Posted on Categories:Blog Posts, Harvest Stories

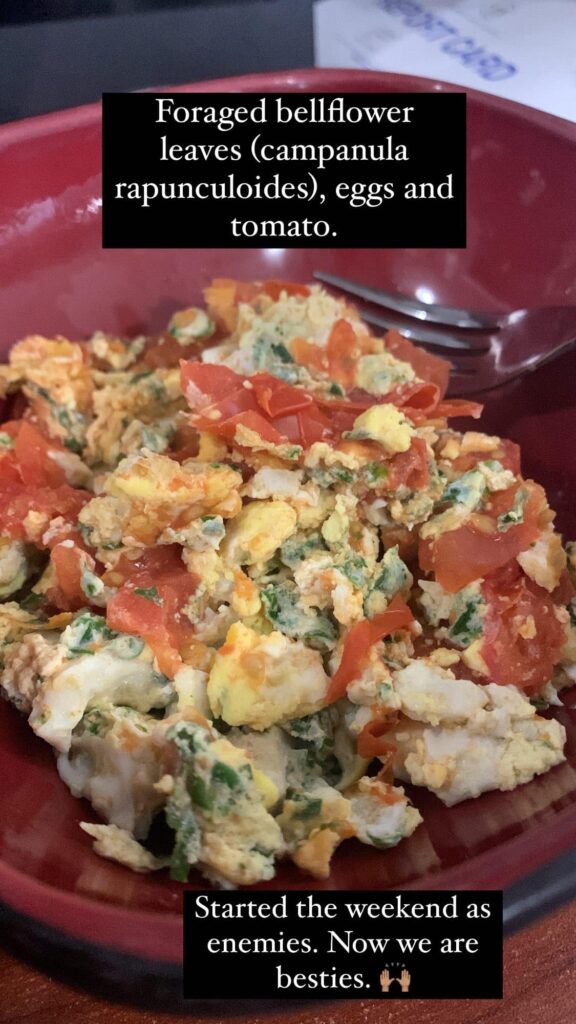
Been a while since we posted!! Life has been crazy preparing the garden beds and trying to keep our plants alive! Here’s a little story about an enemy turned friend haha. As they say in permaculture the problem is the solution.

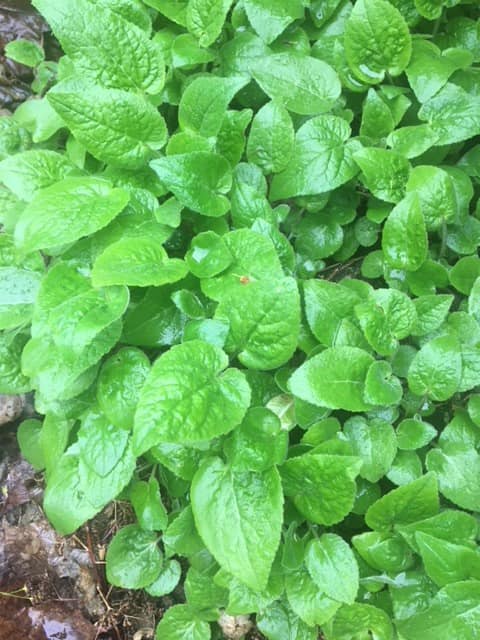
Here is Creeping Bellflower – Campanula rapunculoides.

A wildflower that is invasive and is likely right in your own yard! Identifying it is pretty easy! Definitely, an easy green to forage for and is quite prolific, which means there are lots to harvest!

Creeping Bellflower in bloom. Bloom season is June – October.

What Is Creeping Bellflower (Campanula Rapunculoides)?

Plant type: perennial

Size: low growing clumped foliage in spring, grows to 1 m tall flowering spike in early summer

Leaves: heart-shaped in early-stage becoming lance-shaped, tooth-edged, and coarse-textured (a tad hairy!)

Creeping Bellflower Leaves

Flowers: purple-blue 2-3 cm long nodding bells, blooms begin on lower stem

Bloom season: June – October

Now the roots can be a pain. Creeping bellflower has both a thick, tuber-like root that’s an inch or up to several inches deep in the soil (which can be why they take over a raised garden bed). Aside from these tuber-type roots it also has a lot of thread-like little roots that grow horizontally just below the soil. As this was the issue in our raised beds I got to know the roots quite well. I was so frustrated by these roots, I started Googling solutions to dealing with them and after some research, I found out, that it’s edible!! As the permies say, try to turn the problem, into the solution!!

What Does Creeping Bellflower Taste Like?

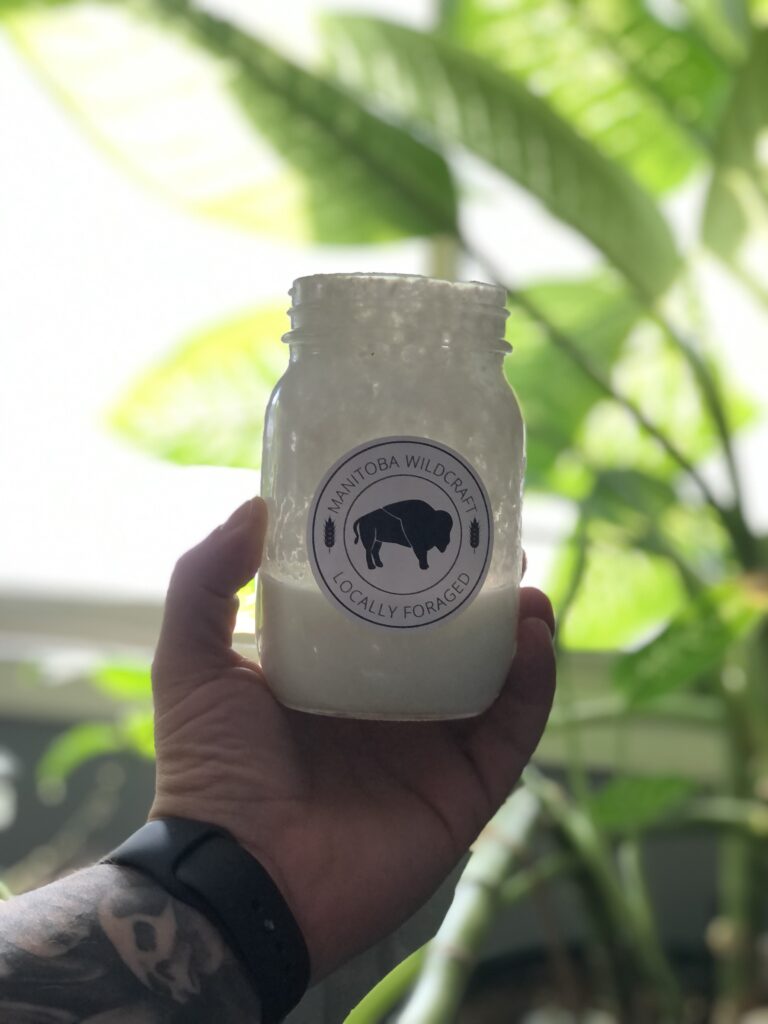
The greens are very similar to spinach. The taste is subtle and not bitter or too strong which I find is typical of wild edible greens. This makes it a top option to use as a spinach alternative. The one thing I will mention is that the leaves have a bit of a fuzzy texture and I think is much better cooked (but they can totally be eaten raw! I used it like spinach in eggs and then the roots I soaked and made into a Korena side dish called, Doraji Namul! Check the recipe I used below! I can also see the greens being used in pesto and even using the roots as s substitute for the pine nuts!! We will be trying that in another post.

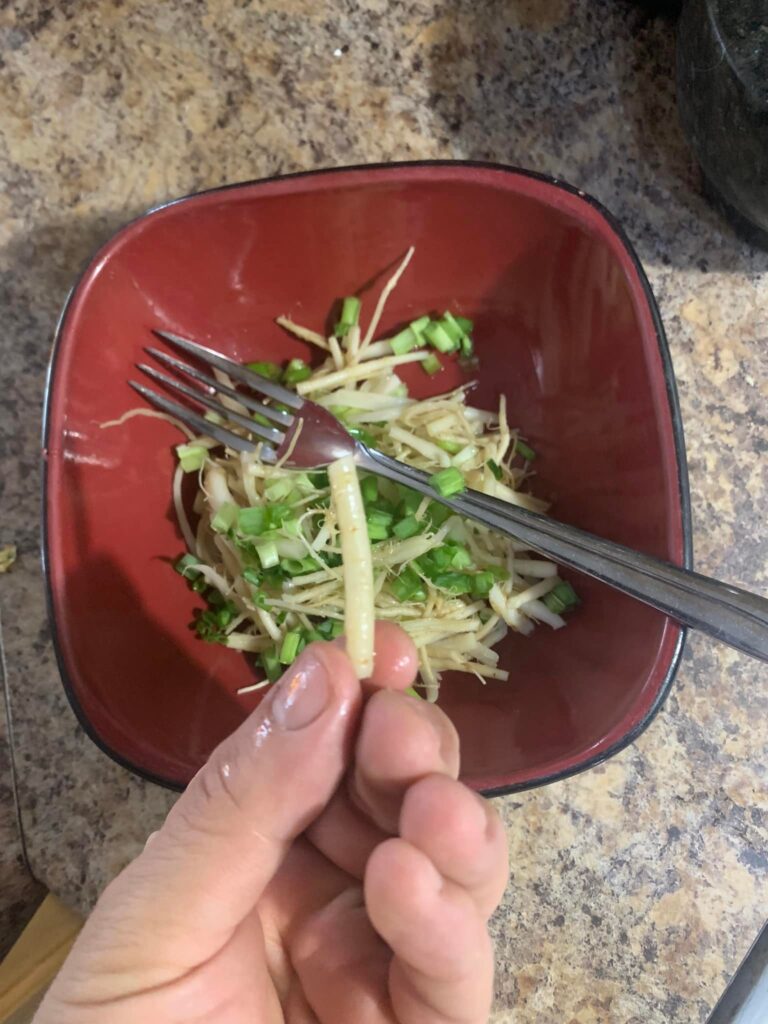
How To Make Doraji Namul (Sauteed Bellflower Root)

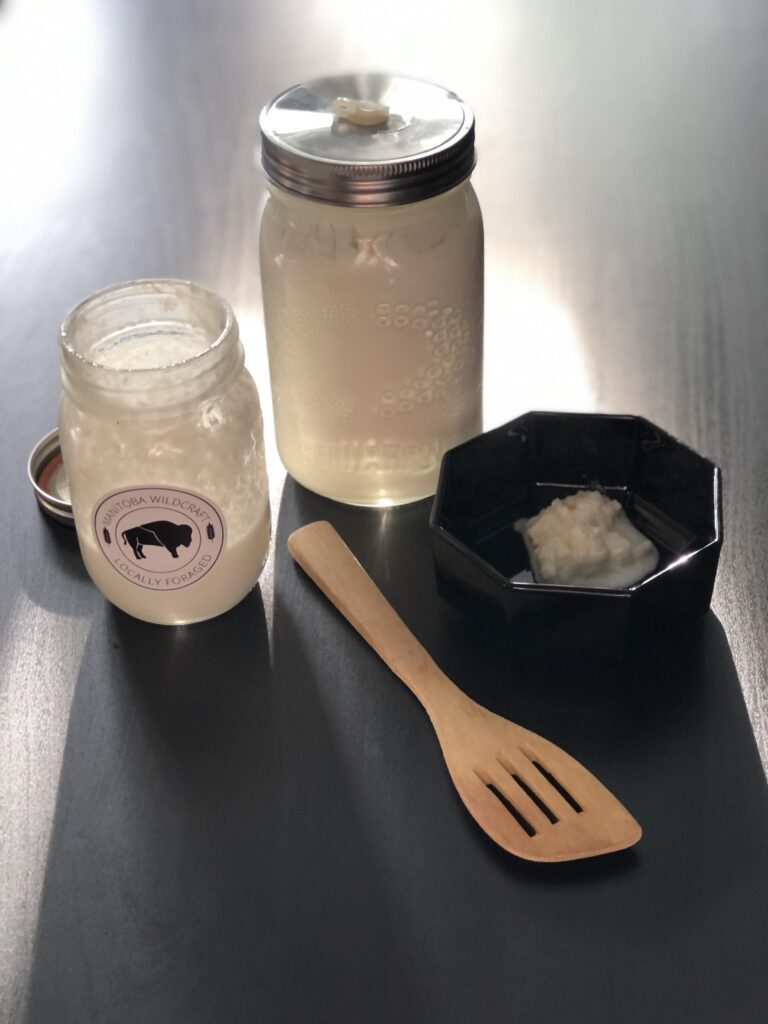
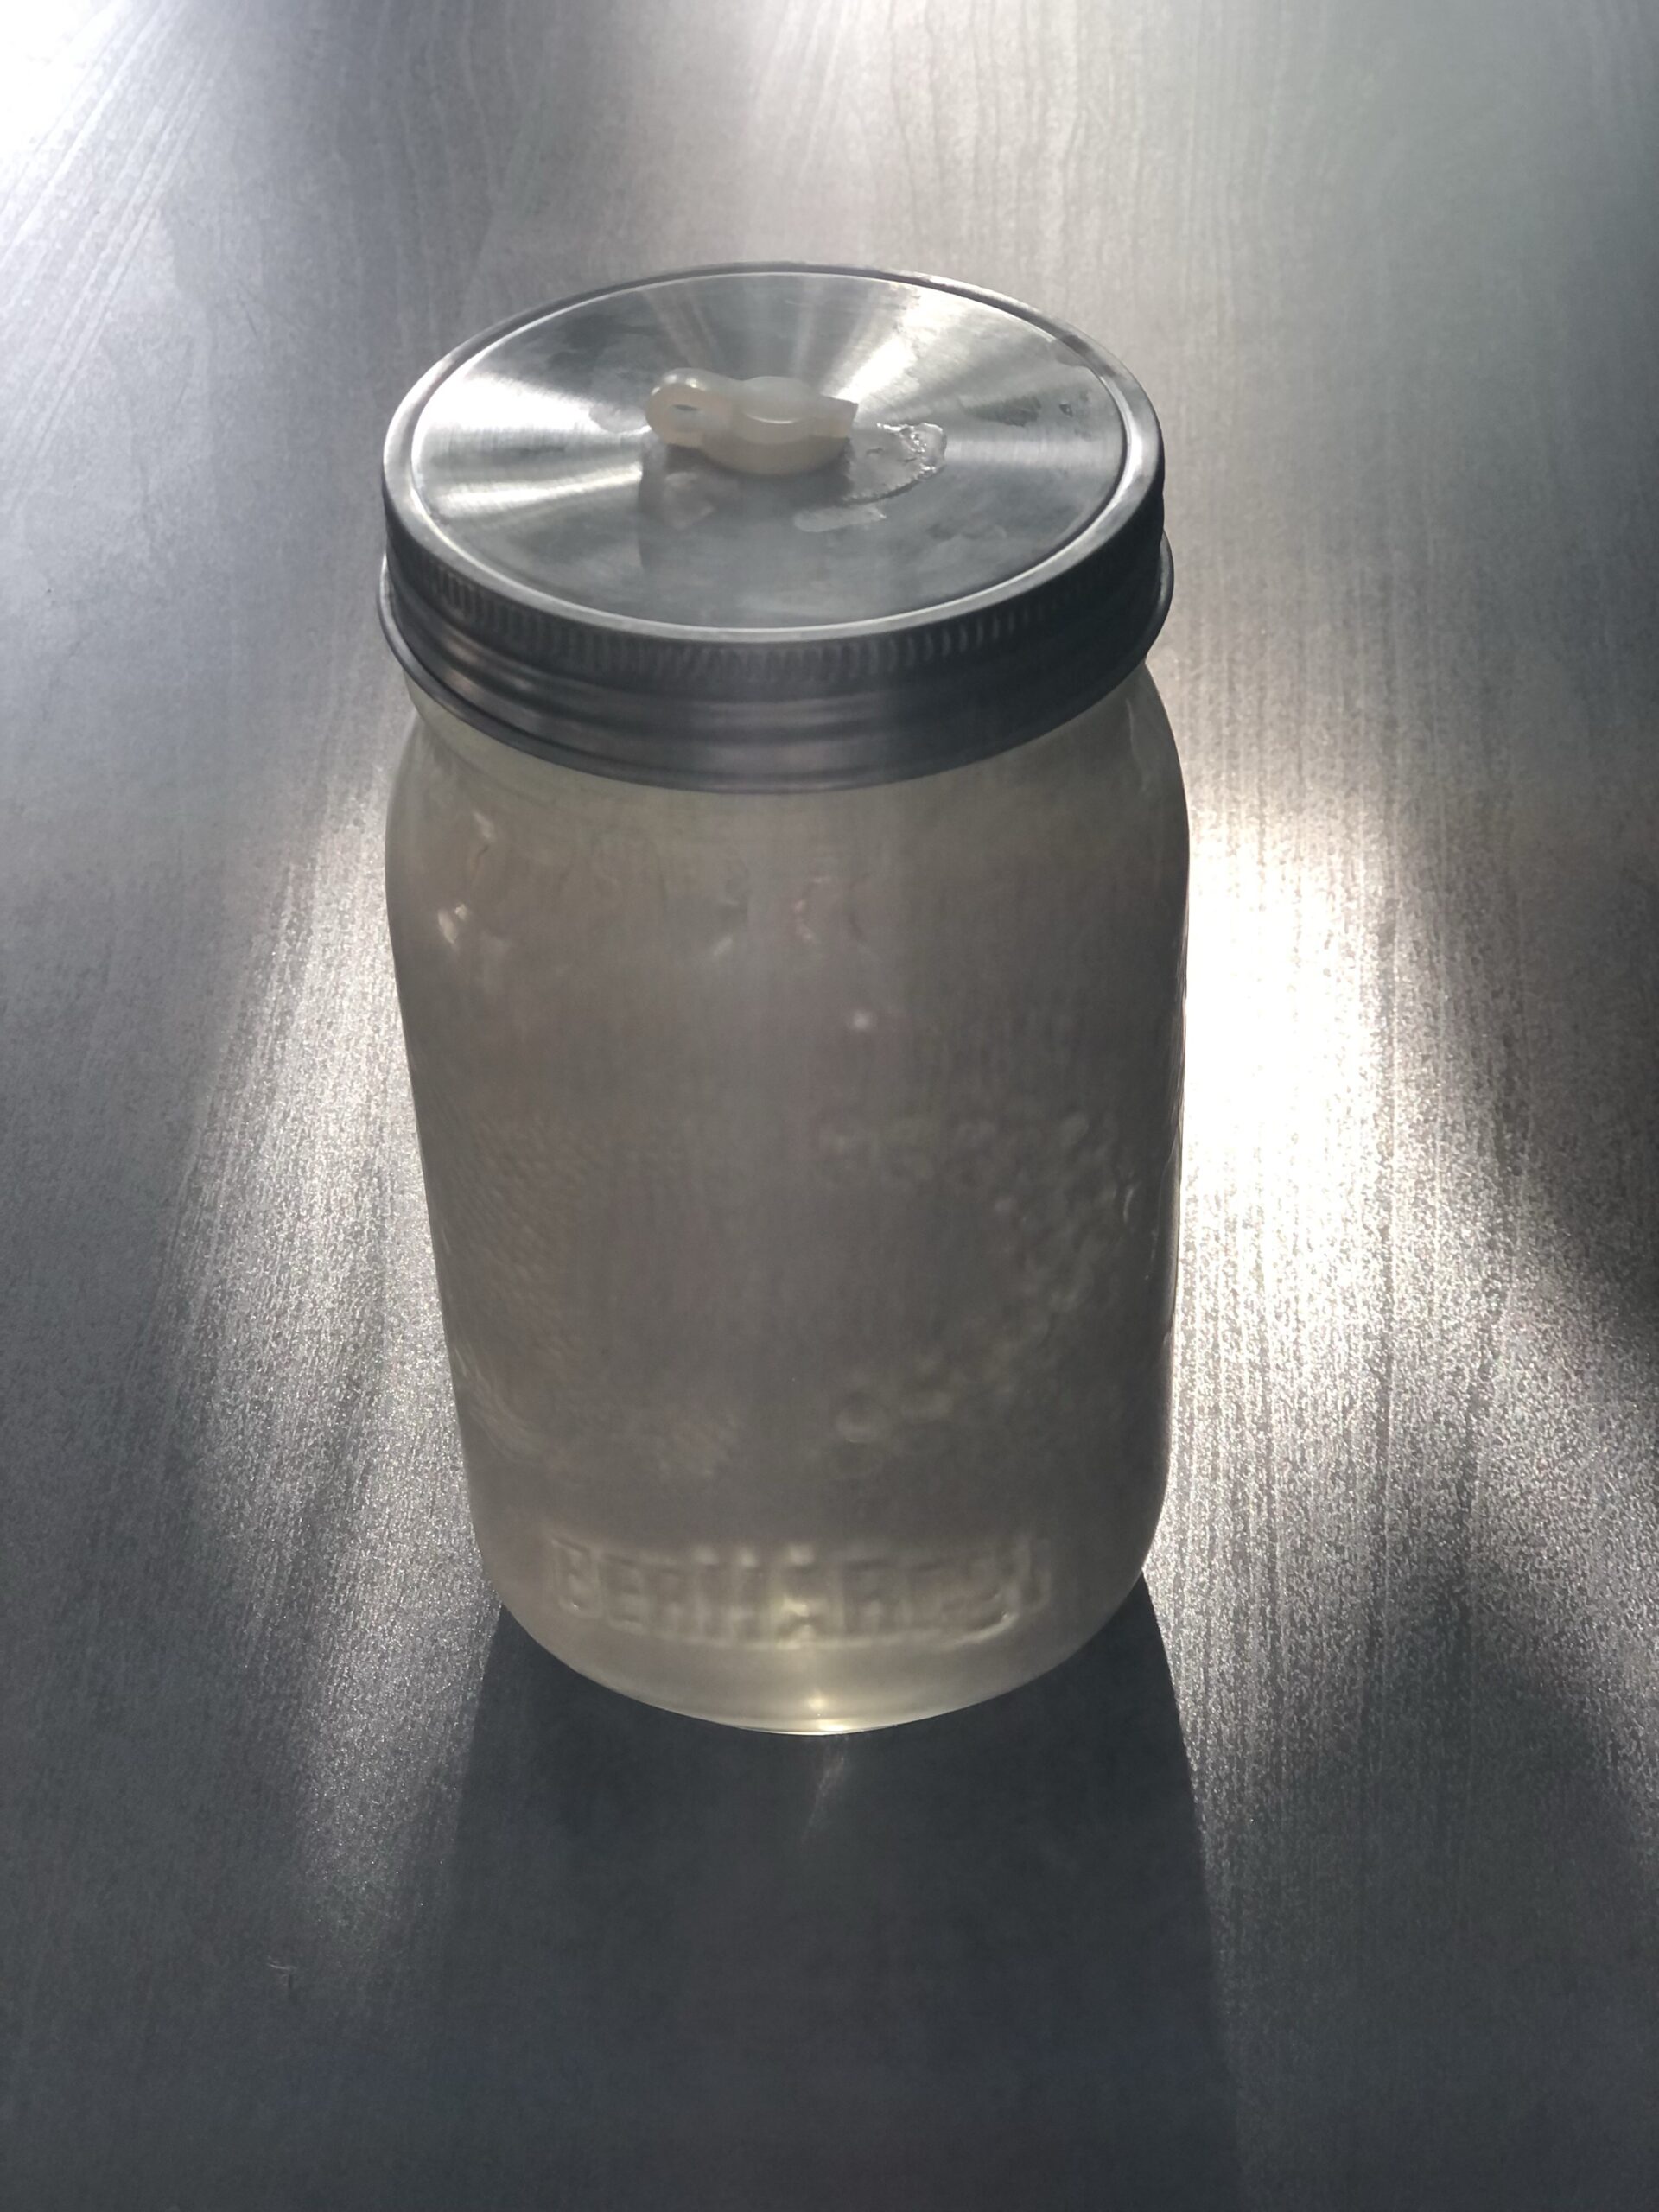
For our recipe, I used fresh roots, so I made sure to soak them overnight in saltwater to cut some of the bitterness. If you can find dried roots you can use them as well!!

Soaking the fresh Bellflower roots. Split them up to soften them more. Save for eating or dry them for future use.
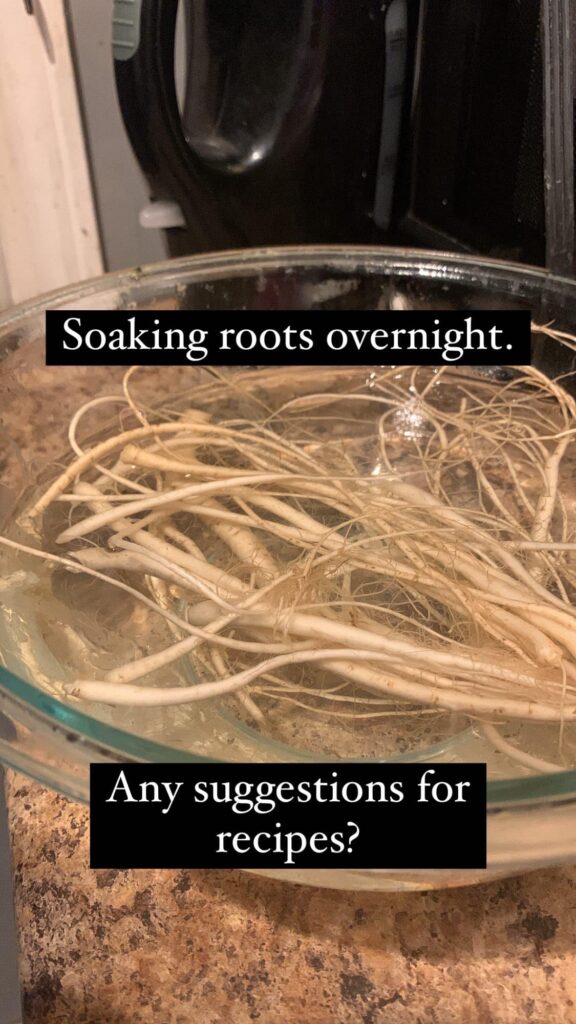
  1. If using dried roots. Place the doraji / bellflower root in a large bowl and immerse it in water overnight (8 to 12 hours). Drain the water. If using fresh like in my case, simply add the coarse sea salt and wash the bellflower root a few times with running water. This is to remove the bitter taste of the bellflower root. Boil some water in a saucepan (enough to cover the root) and blanch the bellflower root in rolling boiling water for about 2 minutes. Drain the water and rinse under cold running water. (I actually boiled them for a little longer until they were softened).
  2. Place the blanched bellflower root in a mixing bowl then add the seasoning sauce. Mix them well with your hands.
  3. Heat up a skillet over medium-high heat. Once heated, spread the cooking oil. Add the seasoned bellflower root and stir around quickly. Add the green onion and sesame seeds. Remove from the heat. Serve.
    Be sure to look around as foraging has begun!!

Sometimes life’s toughest challenges can secretly be a blessing in disguise!
It’s all about perspective.

Roots about this size were the best and I would try to find more of this size for eating and cooking!

Our Frontyard Lilac Harvest May 2021

Posted on Categories:Blog Posts, Harvest Stories

Lilacs (Syringa vulgaris) the “Queen of Shrubs”

We are big fans of flowers, and especially hardy flowers, since we are budding gardeners and still learning – so we like a few easy wins. And what is a hardy flower we love? Lilacs! We do nothing, and we have heaps come spring! In contrast, we’ve been trying to grow the not-so-hardy lavender for years. With little success (we just started to stratify some new seeds in our attempt for this season), we decided to start with the most abundant and hardy flower we could find locally, our lilac bushes.

Lilacs have a lovely scent and since we don’t have lavender around (yet), why not use what we have? Since we are now mid-winter 2022, we thought this little throwback to early spring might help us through the winter blues. So what did we do with our lilacs? First, we did a little reading!

Medicinal Uses

Lilacs have been used for centuries as a form of medicine. Lilac leaves and flowers have traditionally been considered a tonic, a febrifuge (helps lower a fever), a vermifuge (anti-parasitic) and an antiperiodic (preventing the return of a disease), and it has been used in the treatment of malaria. This has been confirmed in peer-reviewed works like this one that demonstrated that common lilac, which is a traditionally used medicinal plant in Europe, is a valuable source of active compounds, especially neooleuropein. Scientific data supporting the traditional use of S. vulgaris are connected with its antioxidant, anti-inflammatory, anti-nociceptive and antipyretic properties. Traditionally N. American indigenous peoples chewed it to relieve sore mouths.

History of Lilacs in Canada

The history of the lilacs in Canada can be a bit problematic. Lilacs likely made their way to Canada from Eastern Europe, thanks to the pioneers in the 1800’s, and of course Colonialism. Although they are beautiful, we do think it is important to acknowledge history and the effects of the colonizing of Canada. It is important to contextualize the botanical history of imported plants but even more so the fact that we should always be mindful of our native species and respect our native peoples when planting anything. There are many references to lilacs in North America, but we must remember they are not native here. For an extensive look at the history and first historical references, check out “An Ode: A History of Lilacs in Canada by Andrea Eidinger”

How We Used Lilacs

As we learn to use more foraged flowers in everything from cooking to medicine, we know that we simply had to discuss the “Queen of Shrubs” and find a way to harvest and use it in our everyday life. We tried to freeze some which left them brown and soft, with a sweet honey-like odor. This might be useful to use in recipes but it was definitely not a great way to store them for any other uses. We also infused some coconut oil, and honey. The honey was delicious! We ended up using bundles we hung to dry.

Lilac harvesting Spring 2021.

So what did we make? Our very first skincare product! Lilac and lavender Epsom salt scrub made by us!!

Wildcrafting With Our Spring Harvest

I started to make DIY salt scrubs at home. I’ve been slowly perfecting the right recipe. First, I used kosher salt, sugar, and essential oil. Essential oil needs to be mixed with a carrier oil to be applied topically; so I tried coconut oil, however I found coconut oil is comedogenic (i.e. clogs pores). So I changed the recipe to sea salt, epsom salt, glycerin oil, and I’ve been using dried hibiscus leaves, basically loose tea leaves for scent. It is a significantly better recipe however, I’m not a fan of the staining from the tea leaves. Which is where the lilacs come in! They are only around for a short period of time in the spring, so we harvested a bunch of the flowers and are trying 4 separate ways of preserving them: freezing, air drying, in coconut oil, and in honey. Lilac flowers are also edible. so we will be posting the various things we try to do with these beautiful, fragrant, flowers!

Wildcrafting notes from our little modern forest nymph.

To prepare dried lilacs to use in products, you can hang dry them or place them on a drying rack somewhere they will get plenty of airflow. Air-drying is a basic, simple method of preserving lilac flowers, although pink blooms tend to fade. This method can take three weeks or more.

Check out our shop for more info!

Join our mailing list to follow us on harvests and adventures!

Milk Kefir, Mystery, and Medicine

Posted on Categories:Blog Posts, Fermentation

Let’s talk about food. Specifically wild food. I mean, that is part of the reason we started all of this, right? So we should probably talk about it. Here it goes. Why do we love wild food? 

We have been learning for a while about the benefits of eating “living food”. I think we heard it in passing from someone on some post somewhere that talked about how we should aim to eat things that are technically still alive. It was during a time when we were rediscovering our relationship with food and food systems, a couple of years before the global supply chain disruption caused by the pandemic – really made it dinner table talk.

What is living food?

For us, living food is food that is whole, closest to its rawest form, growing in its preferred environment, and covered in soil and bacteria. It is an understanding of the relationship between life and our eating. Gathering and hunting. Natural abundance. Food that is real, has not been sterilized to the last molecule, reconstituted into a meal, and eaten as dead, empty, nutritionally lacking zombie-foodstuffs. We’re just tired of fake $#%^ to be completely honest. And it isn’t just the food of the world, but we digress.

Our first experiment with living food was with milk kefir grains. For almost two years now we have been growing our little kefir culture and have been experimenting with everything from cheeses, dressings, creams, and of course just to drink!

Living milk kefir culture.

What is milk kefir?

Milk kefir (pronounced kee-fer) is a fermented milk drink, cultured from kefir grains. It is a rich source of calcium, protein and B vitamins. What else does it contain? Well, let’s take a look…

A 6-ounce (175-ml) serving of low-fat kefir contains:

Protein: 4 grams
Calcium: 10% of the RDI
Phosphorus: 15% of the RDI
Vitamin B12: 12% of the RDI
Riboflavin (B2): 10% of the RDI
Magnesium: 3% of the RDI
A decent amount of vitamin D

https://ndb.nal.usda.gov/ndb/foods/show/01289

Where does milk kefir come from?

The history of milk kefir is fascinating. The history dates back many thousand years ago and traces back to the people of the Caucasus region. Widespread use as medicine comes from Russian experiments that concluded milk kefir to be the key to a long and healthy life. Most all references and research point to kefir originating in North Ossetia (the Northern area of the Caucasus Mountains, between Russia and Georgia).

It was there that the Ossetians, descended from the nomadic Scythians who settled in the area, first harnessed kefir grains to ferment milk in simple leather bags. It’s hard to say what these highlanders of the Caucasian Mountains did on a day-to-day basis with kefir, or where exactly they first happened across it. Unfortunately, there were no written records of this, only a story passed down (and probably a good helping of exaggeration with it!). Nonetheless, as the story progresses into Russia, it becomes more accurate as names, dates, and written records of kefir take the place of legend and story-telling.

 The Russian immunologist Dr. Ilya Ilyich Metchnikoff (who received the Nobel Prize for his work on immunity in 1908) became interested in learning about the causes of the exceptional longevity of the people in the Caucasus region and other regions. Metchnikoff came to the conclusion that soured milk, including milk kefir, was one of the keys to longevity and well-being. Following the publication of Metchnikoff’s book, The Prolongation of Life, in 1907, the All Russian Physicians’ Society became determined to use milk kefir as a medicinal treatment for their patients.

https://www.rawmilkinstitute.org/updates/the-fascinating-history-of-milk-kefir

How do we use milk kefir?

Milk kefir has become our choice for a dairy substitute. In fact, it is believed that due to the fermentation process, it’s easier on folks who are lactose intolerant (of which we have in the household). We use milk kefir all day! In the mornings, we use some in our eggs as a cream replacement and to bring life to our eggs, or we might even use it in our sourdough pancakes. For lunch, we might process it into a soft, white cheese with some herbs as a replacement for cream cheese! In the afternoon, instead of yogurt, we might have a glass of kefir with lemon, a drinkable yogurt that provides more punch than traditional yogurt! And now for supper, we mix it with some herbs and vinegar for a tangy dressing that can work with damn near any variation of salad.

The culture and the finished product. Kefir grains in a dish.

How can I make milk kefir at home?

So here’s the deal. Kefir is the result of combining about a 1/4 cup of fresh milk (unpasturized would work best) with a couple tablespoons of the kefir grains culture that has been left to sit and ferment overnight. Kefir is living and eats the sugars in the milk. In order to make kefir grains you need a living culture starter and we couldn’t find any kefir grains in Winnipeg that were actually alive! We found dried starters but not the actual living bacteria. We had heard that some folks could get their hands on some, like some secret kefir fight club, but we didn’t have a plug. So we of course did the next best thing and we bought some online!! We HIGHLY recommend this company (www.yeemos.com) for any of your kefir needs.


Here is Ariel from Simple Living Alaska (one of our fave Youtube channels, give them a follow!) using kefir to make a simple, spreadable cheese.

Want to give milk kefir a try?

For our followers, we have decided to start offering milk kefir grains starter in our store. Your local kefir dealer, slanging bacteria and reporting for duty. Check the store for details!

Join our mailing list to follow us on harvests and adventures!